How to Melt Chocolate: 5 Foolproof Methods for Perfect Results


Melting chocolate seems simple, but achieving a smooth, glossy consistency requires finesse. The goal is to coax the chocolate into a liquid state without burning, seizing, or developing a grainy texture. These methods offer solutions for every skill level and equipment availability, ensuring perfect melted chocolate for everything from delicate ganaches to fun chocolate-covered strawberries.
We'll explore the nuances of each method, discussing the ideal chocolate types and crucial temperature controls needed to unlock the full potential of this versatile ingredient. Mastering these techniques will elevate your baking and confectionary skills, creating rich, decadent treats with a professional touch.
Understanding Chocolate: Choosing the Right Type
The type of chocolate you choose significantly impacts the melting process and final result. Here's a quick guide:
- Dark Chocolate: Contains cocoa solids, cocoa butter, and sugar. Higher cocoa content (70%+) is less sweet and more prone to seizing, requiring careful temperature control.
- Milk Chocolate: Contains cocoa solids, cocoa butter, sugar, and milk solids. The milk solids make it more forgiving to melt than dark chocolate.
- White Chocolate: Technically not chocolate, as it contains cocoa butter, sugar, and milk solids but no cocoa solids. It melts easily but can burn quickly due to its high sugar content.
- Chocolate Chips: Often contain stabilizers that prevent them from melting as smoothly as baking bars. Use high-quality chocolate chips for the best results.
Why Cook Chocolate This Way?
- Versatility: Melted chocolate is the foundation for countless desserts, sauces, and candies.
- Flavor: Proper melting enhances the rich, complex flavors of the chocolate.
- Convenience: With the right technique, melting chocolate is quick and easy, even for beginners.
Preparation (Mise en Place)
- Chopping: If using a baking bar, chop the chocolate into small, even pieces. This ensures consistent melting. Chocolate chips can be used directly without chopping.
- Drying: Ensure all bowls, utensils, and the chocolate itself are completely dry. Even a tiny drop of water can cause chocolate to seize.
Essential Tools
- Microwave-safe Bowls: For microwave melting. Glass or ceramic are ideal.
- Double Boiler or Heatproof Bowl and Saucepan: For stovetop melting. Choose a bowl that fits snugly over the saucepan without touching the water.
- Spatulas (Silicone or Rubber): For stirring and scraping the chocolate. Silicone spatulas are heat-resistant and prevent scratching.
- Thermometer (Optional): For precise temperature control, especially when tempering chocolate.

The Cooking Methods:
Below are five detailed methods for melting chocolate, along with specific instructions and tips for each.
Method 1: Melting Chocolate in the Microwave
Ingredients:
- Chocolate (4-8 ounces / 115-230g), chopped into small pieces
Instructions:
- Prepare the Bowl: Place the chopped chocolate in a microwave-safe bowl. Ensure the bowl is completely dry.
- Microwave in Intervals: Microwave on low power (50% or less) for 30 seconds. The aroma of the melting chocolate will begin to fill the air.
- Stir: Remove the bowl and stir thoroughly with a spatula. The chocolate may appear unchanged, but stirring distributes the heat and promotes even melting.
- Repeat: Continue microwaving in 15-second intervals, stirring after each interval, until the chocolate is almost completely melted.
- Final Stir: Stir the chocolate vigorously until the remaining small pieces melt and the mixture is smooth and glossy. Avoid overheating.
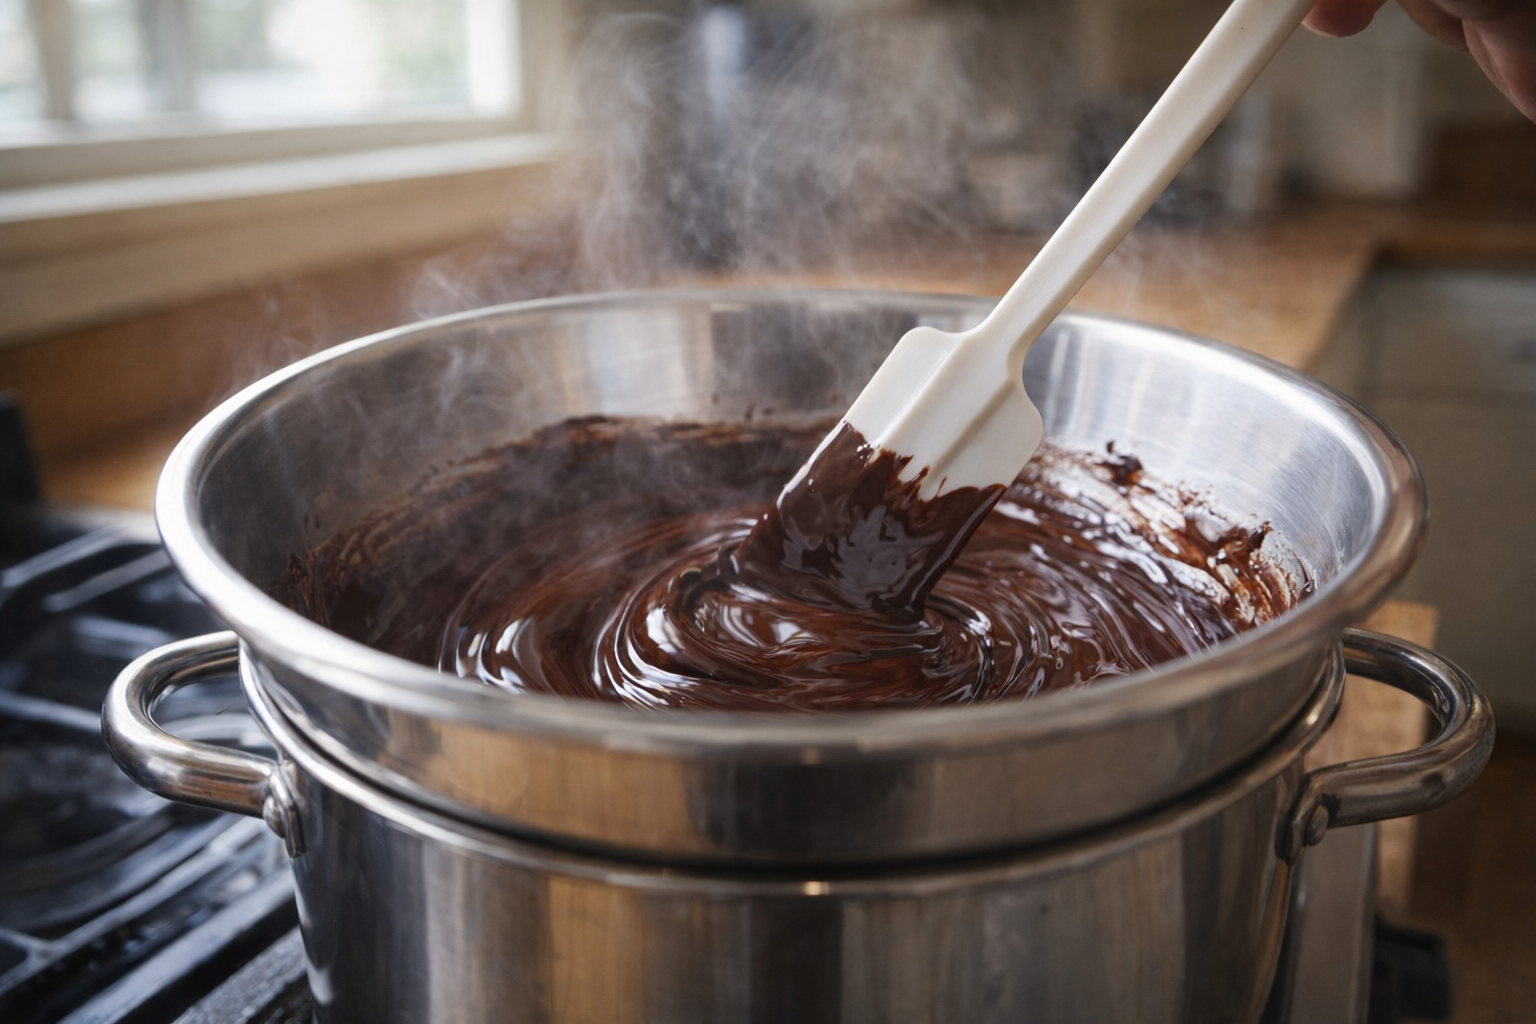
Method 2: Melting Chocolate on the Stove (Double Boiler)
Ingredients:
- Chocolate (4-8 ounces / 115-230g), chopped into small pieces
Instructions:
- Set Up Double Boiler: Fill a saucepan with about an inch of water. Bring to a gentle simmer over medium heat.
- Place Bowl Over Saucepan: Place a heatproof bowl on top of the saucepan, ensuring the bottom of the bowl does not touch the water.
- Add Chocolate: Place the chopped chocolate in the bowl. The gentle steam from the simmering water will begin to warm the bowl.
- Stir Gently: Stir the chocolate occasionally with a spatula as it melts. Avoid vigorous stirring, which can introduce air bubbles.
- Melt Completely: Continue stirring until the chocolate is completely melted and smooth. The chocolate should coat the back of a spoon evenly.
- Remove from Heat: Carefully remove the bowl from the saucepan, being mindful of the hot steam.
Method 3: Melting Chocolate Directly in a Skillet or Saucepan
Ingredients:
- Chocolate (4-8 ounces / 115-230g), chopped into small pieces
Instructions:
- Low Heat: Place a clean, dry skillet or saucepan on the stove over very low heat.
- Add Chocolate: Add the chopped chocolate to the pan.
- Constant Stirring: Stir the chocolate continuously with a heat-resistant spatula. The aroma will intensify quickly.
- Remove from Heat (if needed): If the chocolate starts to smoke or bubble, immediately remove the pan from the heat and continue stirring.
- Melt Completely: Keep stirring until the chocolate is completely melted and smooth. The surface should be glossy.
- Remove from Heat: Remove the pan from the heat immediately to prevent burning.
Method 4: Melting Chocolate in a Hot Water Bath
Ingredients:
- Chocolate (4-8 ounces / 115-230g), chopped into small pieces
Instructions:
- Prepare Water Bath: Fill a wide skillet with about an inch of water and heat over medium heat until it simmers gently.
- Place Bowl in Water: Place a heatproof bowl with the chopped chocolate directly into the hot water. The bowl should sit in the water but not be submerged.
- Stir Occasionally: Stir the chocolate occasionally as it melts from the heat of the water.
- Monitor Temperature: Make sure the water doesn't boil vigorously.
- Remove and Use: Carefully lift the bowl out of the skillet once the chocolate is melted and smooth.
Method 5: Melting Chocolate in a Slow Cooker
Ingredients:
- Chocolate (8-16 ounces / 230-460g), chopped into small pieces
Instructions:
- Prepare Slow Cooker: Make sure the slow cooker is clean and dry.
- Add Chocolate: Place the chopped chocolate into the slow cooker.
- Set to Low: Turn the slow cooker on to the "Low" setting.
- Stir Every 15 Minutes: Let the chocolate melt slowly, stirring gently every 10-15 minutes to ensure even melting. The aroma will permeate the kitchen.
- Turn Off and Use: Once melted and smooth, turn off the slow cooker and use the chocolate as needed. The "Keep Warm" setting can be used to maintain the melted state.
Cooking Time & Doneness Guide:
- Microwave: 1-2 minutes total, in 15-30 second intervals.
- Double Boiler: 5-10 minutes.
- Direct Skillet/Saucepan: 2-4 minutes.
- Hot Water Bath: 3-4 minutes
- Slow Cooker: 30-60 minutes.
Visual Cues
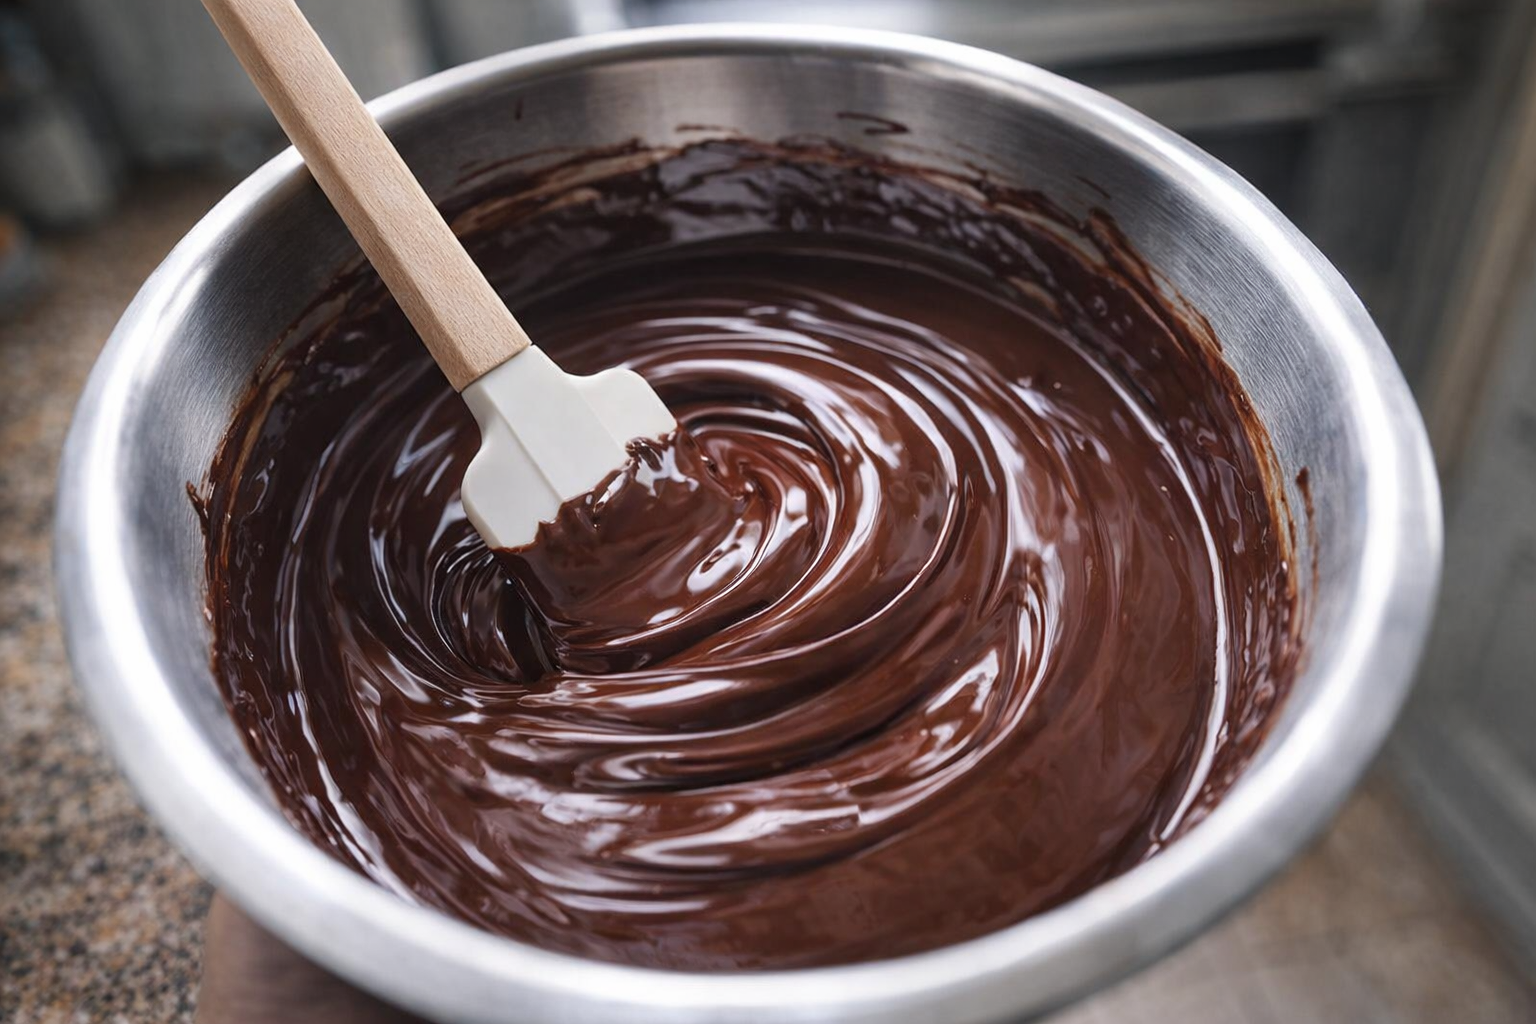
The chocolate is melted when it's smooth, glossy, and flows easily from a spoon. There should be no visible lumps or unmelted pieces.
Tips for Perfection:
- Avoid Overheating: Chocolate burns easily. Use low heat and stir frequently.
- Keep it Dry: Water is the enemy of melted chocolate. Ensure all utensils and bowls are completely dry.
- Don't Rush: Be patient and let the chocolate melt slowly and evenly.
- Choose Quality Chocolate: The better the chocolate, the better the melted result.
Storage & Reheating:
Store leftover melted chocolate in an airtight container at room temperature for up to 2 days. To reheat, use the double boiler method or microwave in short intervals, stirring frequently. Be careful not to overheat.
Serving Suggestions:
- Chocolate Fondue: Serve with fruit, marshmallows, pretzels, and cake for dipping.
- Chocolate-Covered Strawberries: Dip fresh strawberries in melted chocolate and let them set on parchment paper.
- Chocolate Ganache: Use melted chocolate and heavy cream to make a rich ganache for frosting cakes and pastries.
- Chocolate Bark: Spread melted chocolate on a baking sheet, sprinkle with nuts and dried fruit, and let it harden for a delicious bark.
💡 Pro Tips
- Always chop your chocolate into small, even pieces before melting to ensure uniform melting.
- Use a completely dry bowl and utensils to prevent the chocolate from seizing.
- When melting in the microwave, use low power and short intervals to avoid overheating.
- For the double boiler method, make sure the water in the saucepan doesn't touch the bottom of the bowl.
- If you're using chocolate chips, opt for high-quality ones for smoother melting.
Frequently Asked Questions
If your chocolate seizes (becomes thick and grainy), try adding a teaspoon of boiling water and stirring vigorously. The added moisture can sometimes help to smooth it out. However, be careful not to add too much water, as this can make the chocolate too thin. Prevention is key, so always ensure your tools and chocolate are completely dry.
While you can technically melt any chocolate, baking chocolate bars or wafers are formulated for the best results. They melt smoothly and evenly. Chocolate chips often contain stabilizers that prevent them from melting as easily. If using chocolate chips, opt for high-quality ones.
To keep melted chocolate warm and fluid, you can place the bowl over a warm water bath (double boiler) or in a very low oven (around 150°F/65°C). Stir occasionally to prevent a skin from forming. Avoid overheating, which can cause the chocolate to burn or seize.
Yes, you can remelt hardened chocolate, but be extra careful. Use a low-heat method like a double boiler and stir frequently. The chocolate may not be quite as smooth as the first melt, but it should still be usable. Avoid microwaving, as it can easily burn the chocolate on the second melt.